How to use SharePoint List as Knowledge in Copilot Studio
Background – So you wanted to build a Copilot Studio based agent and wanted to use SharePoint List as data source or knowledge source with the capability of Generative Answers…Consider SharePoint list is your another datasource.
In this example, I would say you have Employee Information stored in the SharePoint List, and we are building a Simple virtual HR Assistant that helps HR find relevant Information about Employees.
Below is a simple schema of my Employees list for your quick reference

Let’s get started by creating our Agent
Step 1 – Create Agent
Go to https://copilotstudio.microsoft.com/
Go to Agents on the left side and click on New Agent

You will be asked to use Copilot to describe your agent so that it will scaffold a basic agent for you, I would skip this part as I like to build it from Scratch.
Click on Skip to Configure
Fill in the below information as you like, make sure you give good description just for sake of clarity.
Keep the Instruction blank for now, No Starter prompts required, No Knowledge is required.
Click on Create

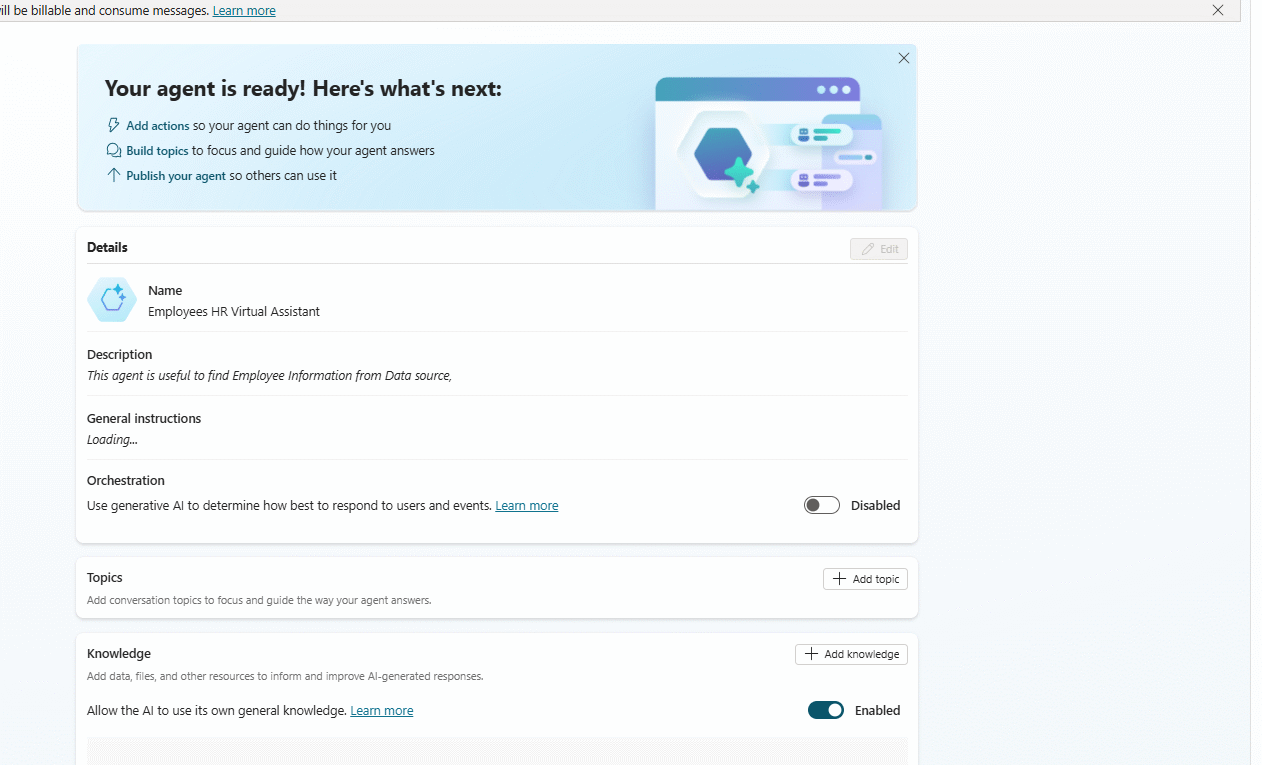
This will set up Agent for you, and you should seethe screen below
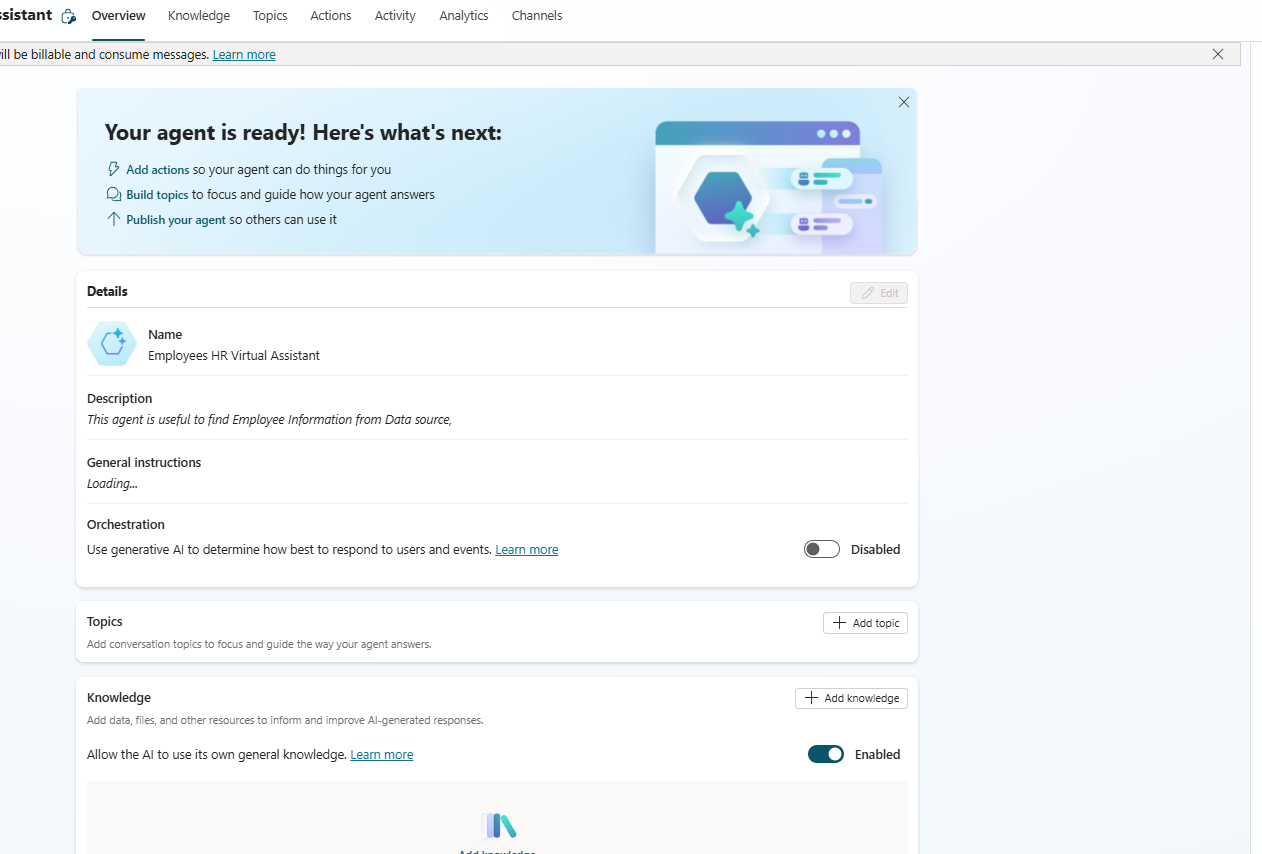
Step 2 – Enable Orchestration
By default, Orchestration would be disabled, we need to turn this on so that AI can determine which actions to call. This is very important step.

Step 3 – Create Action
Let us now create Action, click on Action tabs on the top and click on Add an action. We will get below screen. In the search bar search for SharePoint.

Once you hit enter, you will see all the connectors’ actions related to SharePoint, find Get items

Next, you will be asked to connect to SharePoint permission, click on Next
The next screen will ask to enter some information, I would recommend changing the Name and Description to make it relevant so that this is how the Agent knows when to use this action. We also need to make other changes, but we will do so in the next step.
Click on Add Action.

Step – Configure input for Action
Next, we will edit the Action we created to set up inputs. Go to the Actions tab and click on the Action name

Click on the Input tabs, you will see below screen. Let us add our Site Address and List Name,
Select the target site, if you don’t find the site as in dropdown, check your permission and you can also manually enter it.

For List Name, change the value to “Set a value ” of field How will agent fill this input ?

Then go ahead and enter the List name , Ideally it will open it as dropdown and you have to select target list of the site.
Once done, click on Save.
Step – Test the Agent
That’s it, you are done with configuration and now let us test the Agent, go ahead and ask a question.
As it is first time you will seee below error and will ask you to create connection, click on connect.

It will open below window, go ahead and click on connect to create a new connection

Next it will ask to choose or pick a connection. As in my case connection is already there it will ask me to just use it. Click on Submit

Once done, it will show connected. Go back to our Agent Test window and click on retry and you should see the output. In my case I am asking about who all are female employees and it responded with below
As you can see it was able to get data from Employees list and then based on that able to filter the employees who are female from a column Gender,

Let us try a more complex examples


Here as you can see I only used first name and reports, there is the manager column in our List and it filter based on that

Here it is able to understand the LinkedIn url column and then generate a response
Conclusion – So, as you can see, we can easily create a Agent where it is able to retrive information from SharePoint list and then apply Generative AI capablity to response in natural language…Now you can think of all the possiblities which opens up due to this.
Hope this helps….Happy coding…!!!
